QUALITY POLICIES

Since we started operations, MODEPSA has been serving mining and infrastructure projects with demanding and high-standing clients, who require safe products of the best possible quality for their works.

This is why we focus a large part of our resources and objectives on maintaining and improving our quality control, production process, staff training and obtaining the best possible raw material every day.
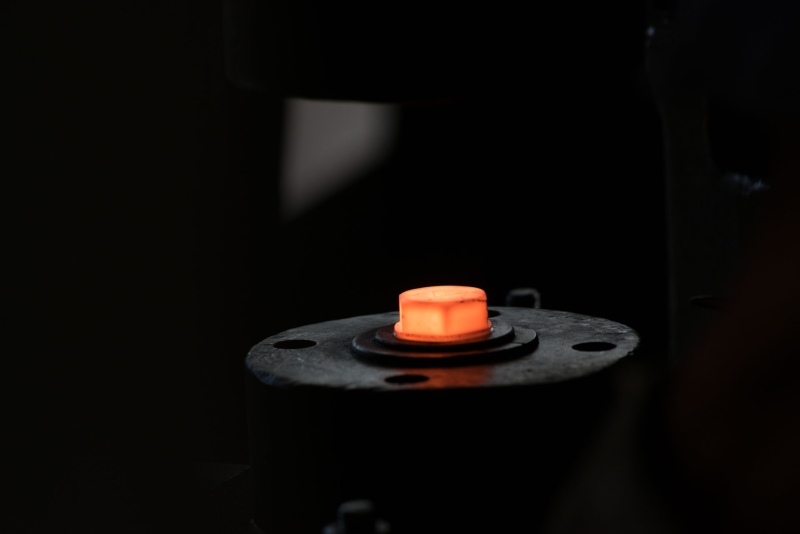
PRODUCTION PROCESS

There are two production lines:

Automatic (Cold)

  1. Preparation of raw material
  2. Forming and / or pressing
  3. Laminate

Forge (Hot)

  1. Cut
  2. Forging
  3. Reduced and laminated

Depending on the material and finish required by the customer, the following is done:

  • Blued
  • Heat treatment
  • Zinced or Tropicalized
  • Galvanized

During the production process, the necessary quality controls are carried out to guarantee compliance with the standards.

QUALITY CONTROL

In recent years, Modepsa has focused on increasing the capacity and quantity of quality controls, due to the increase in quality demands from our clients.

Quality control for the manufacture of our products begins with our raw material suppliers, who are constantly approved by our Quality Control and Logistics area.

We also carry out quality controls on all our products by batch and by casting, keeping a complete traceability of each product.
Our products are governed by International Technical Standards such as ASTM, SAE, ASME, ANSI, AISI, ISO and DIN.

This is done using equipment and tools duly calibrated by entities authorized by Inacal.

THE TESTS, ANALYSIS AND CONTROLS THAT ARE PERFORMED ON OUR PRODUCTS ARE THE FOLLOWING:

  • Quantitative Chemical Analysis of the raw material, to verify that it complies with the chemical composition of the original casting and thus also with that of the material that the product standard requires.
  • Mechanical Hardness Test, performed on our calibrated digital durometers, based on the test methods of the joining elements, for this case established by the ASTM F606 standard.
  • Mechanical tensile tests, to determine the mechanical properties of our products, such as maximum efforts, creep, elongation, area reduction, etc.
  • Tension test vs. tightening torque to the final product using torque wrenches, multipliers and the “Skidmore” hydraulic cell which determines the tension of the product at the applied torque.
  • Visual inspection strictly based on ASTM F812 / 812M bolt standards, and F788 / 788M nut standards.
  • In the manufacturing processes, the general dimensions of the products are constantly controlled and verified, as well as the tolerances of the threads based on the ASME B1.1, B1.2, and B1.3 Standards using calipers, gauges and micrometers.
  • Products with zinc coatings, either hot or cold by electrodeposition, are subjected to a thickness verification using the calibrated Thickness Gauge making it comply with the corresponding ASTM F2329 or ASTM F1941 standards respectively.
  • Metallographic analysis of our final products to determine the Micro Structural constituents obtained from steel that have been heat treated in Tempering and Tempering.
  • Our products go through a test method to determine surface decarburization based on what is described by the ASTM F2328 standard.
  • Structural bolts and all bolts in general go through a quality control of Magnetic Particle Analysis to determine and rule out the presence of possible cracks in the products. 
  • Additionally, if required by the client, our products are subjected to mechanical impact tests, by the CHARPY method, which serves to determine the Toughness of our products, especially at low-temperature work under the ASTM E23 standard.